
How to
Set it up, then forget about it.
Connecting to WiFi takes about two minutes and is the only setup step. Everything after that is optional.
Written for firmware 2.1.9.2 and later. Earlier versions differ in places — check which one you are on.
The controls
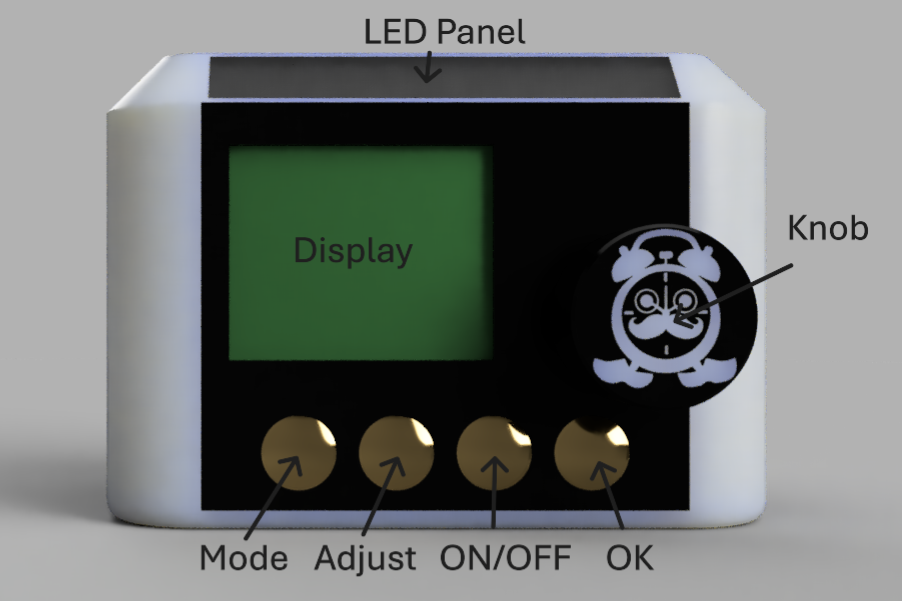
Four buttons and one knob. The buttons, left to right, are Mode, Adjust, ON/OFF and OK. The knob turns to change a value and presses to silence a ringing alarm.
Connecting to WiFi
The clock reads your network details from a file on the SD card, so this is done once with a computer rather than by typing a password on a knob.
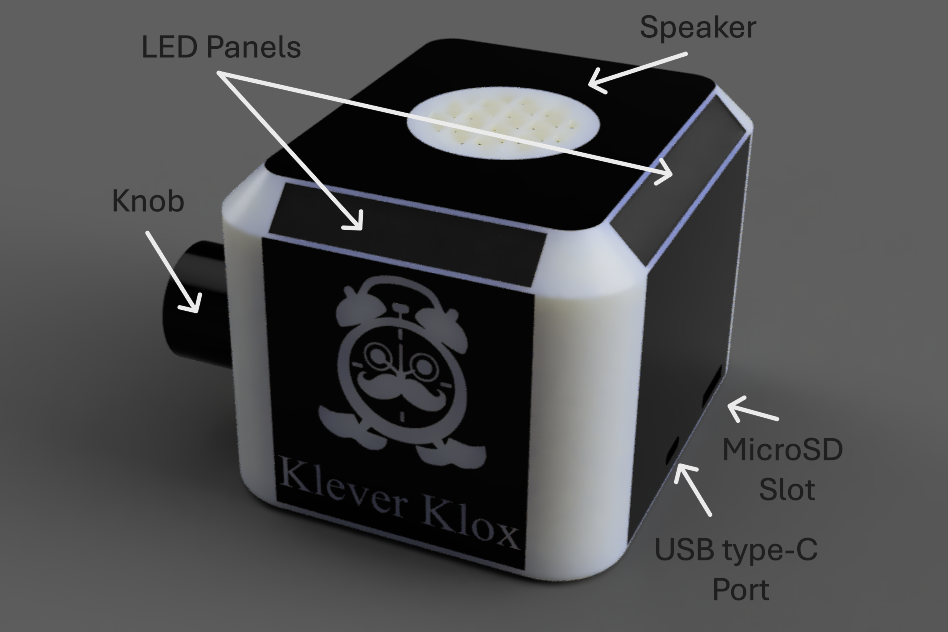
- Power the clock from the USB-C port on the back.
- Take the SD card out of the slot on the back and put it into a computer.
- Open
settings.jsonon the card in Notepad, TextEdit or any plain text editor. - After
"ssid":put your WiFi network name, in quotes. - After
"password":put your WiFi password, in quotes. - Save the file and eject the card safely.
- Put the card back into the slot on the back of the clock.
- Restart the clock — unplug it and plug it back in, or press the knob.
It should join the network on its own and set the time within a few seconds. If it does not, get in touch — it is almost always a stray quote mark in the file.
Getting around the menus
The Mode button moves between the five modes: Time, Alarm, LED, Song and Settings. What the other three buttons do depends on which mode you are in.
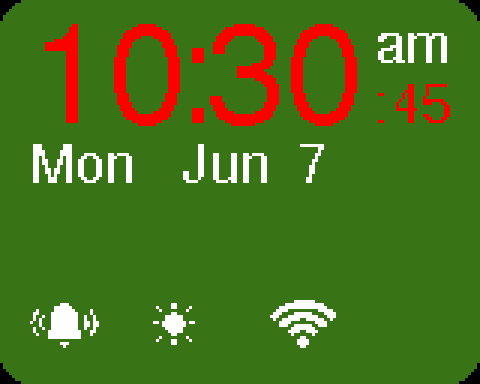
On Time you see the current time and date. Press Adjust to change them: the value being edited blinks, the knob changes it, and Adjust again moves to the next one. ON/OFF turns the display on and off. OK does nothing here.
Setting an alarm
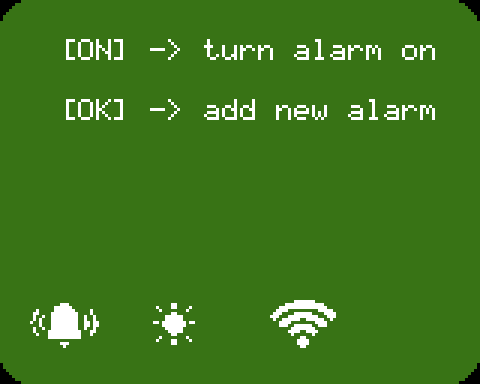
On Alarm you can see and edit your alarms. ON/OFF arms or disarms the one you are looking at, and OK opens it for editing. Each press of OK moves to the next thing you can change.
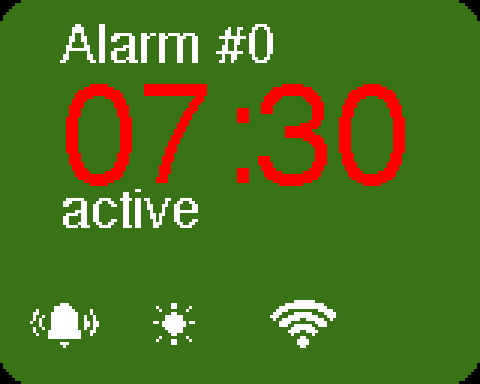
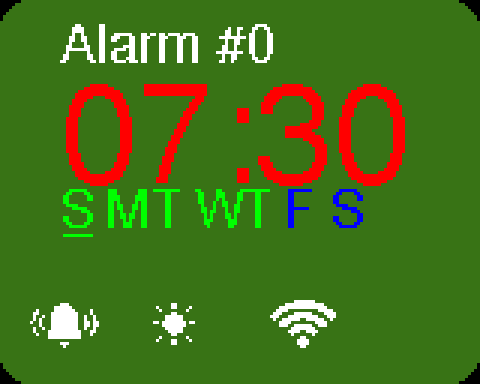
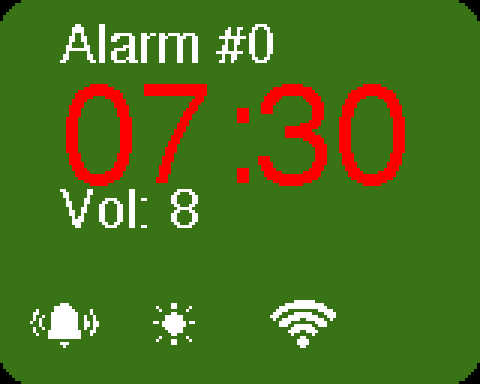
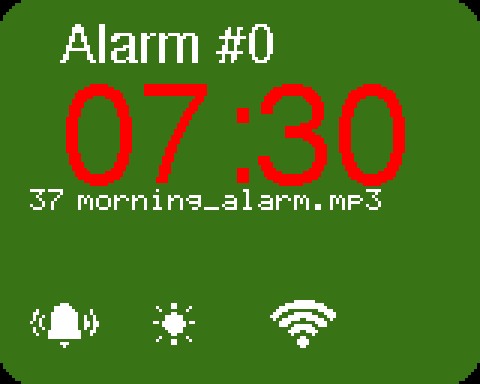
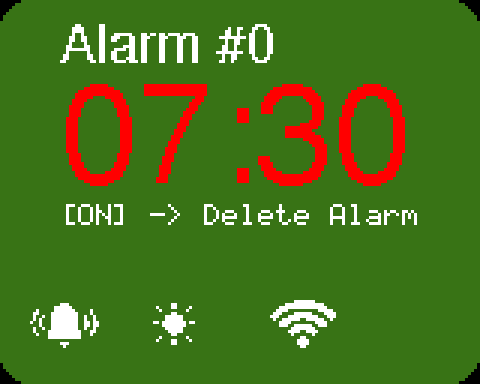
Adjust steps through your alarms one at a time. Past the last one you reach the alarm control panel, where OK adds a new alarm.
The LED light
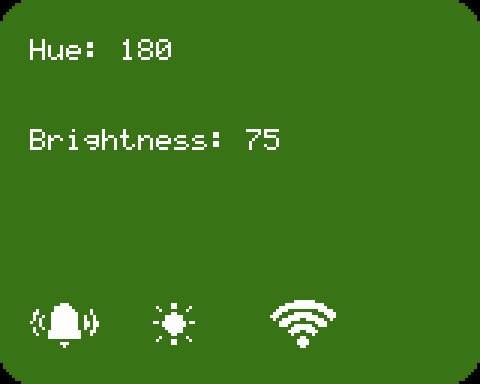
Adjust moves between the two settings and the knob changes whichever one you are on: first hue, which sets the colour, then brightness. ON/OFF turns the light on and off without losing your settings.
Choosing a song
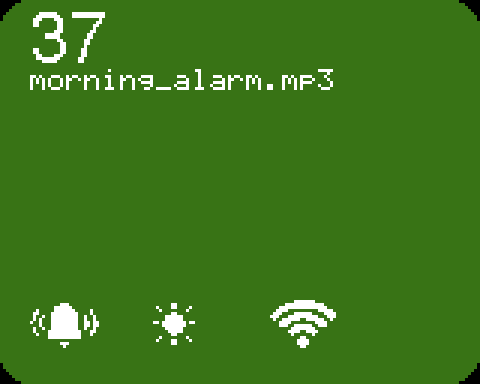
Turn the knob to move through the tracks on the card; each one starts playing as you land on it so you can hear what you are choosing. ON/OFF starts and stops playback, and pressing the knob stops whatever is playing.
Settings
Adjust steps through the settings screens; the knob changes the value on whichever one you are looking at.
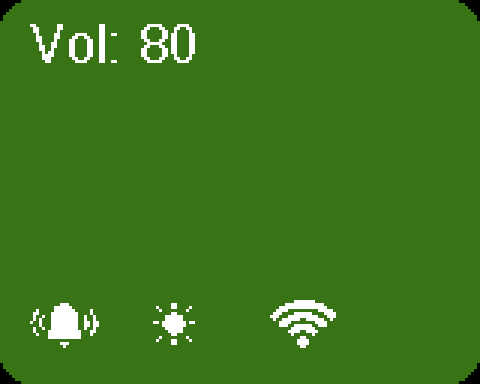
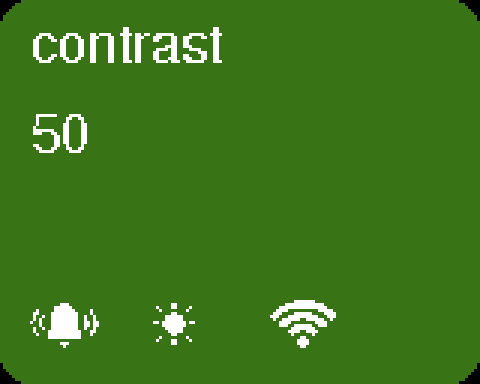
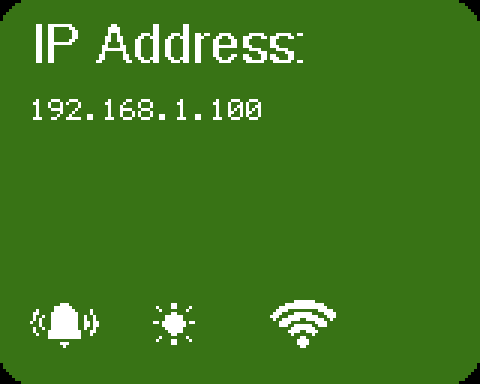
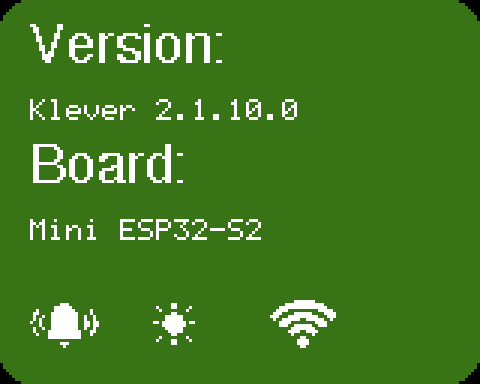
The last two screens are Restart, which restarts the clock when you press OK, and Firmware. The firmware screen tells you whether an update is waiting: press OK to check, and OK again to install what it finds. Progress is shown on the screen and the clock restarts into the new version by itself. ON/OFF turns automatic updating on and off.
The web interface
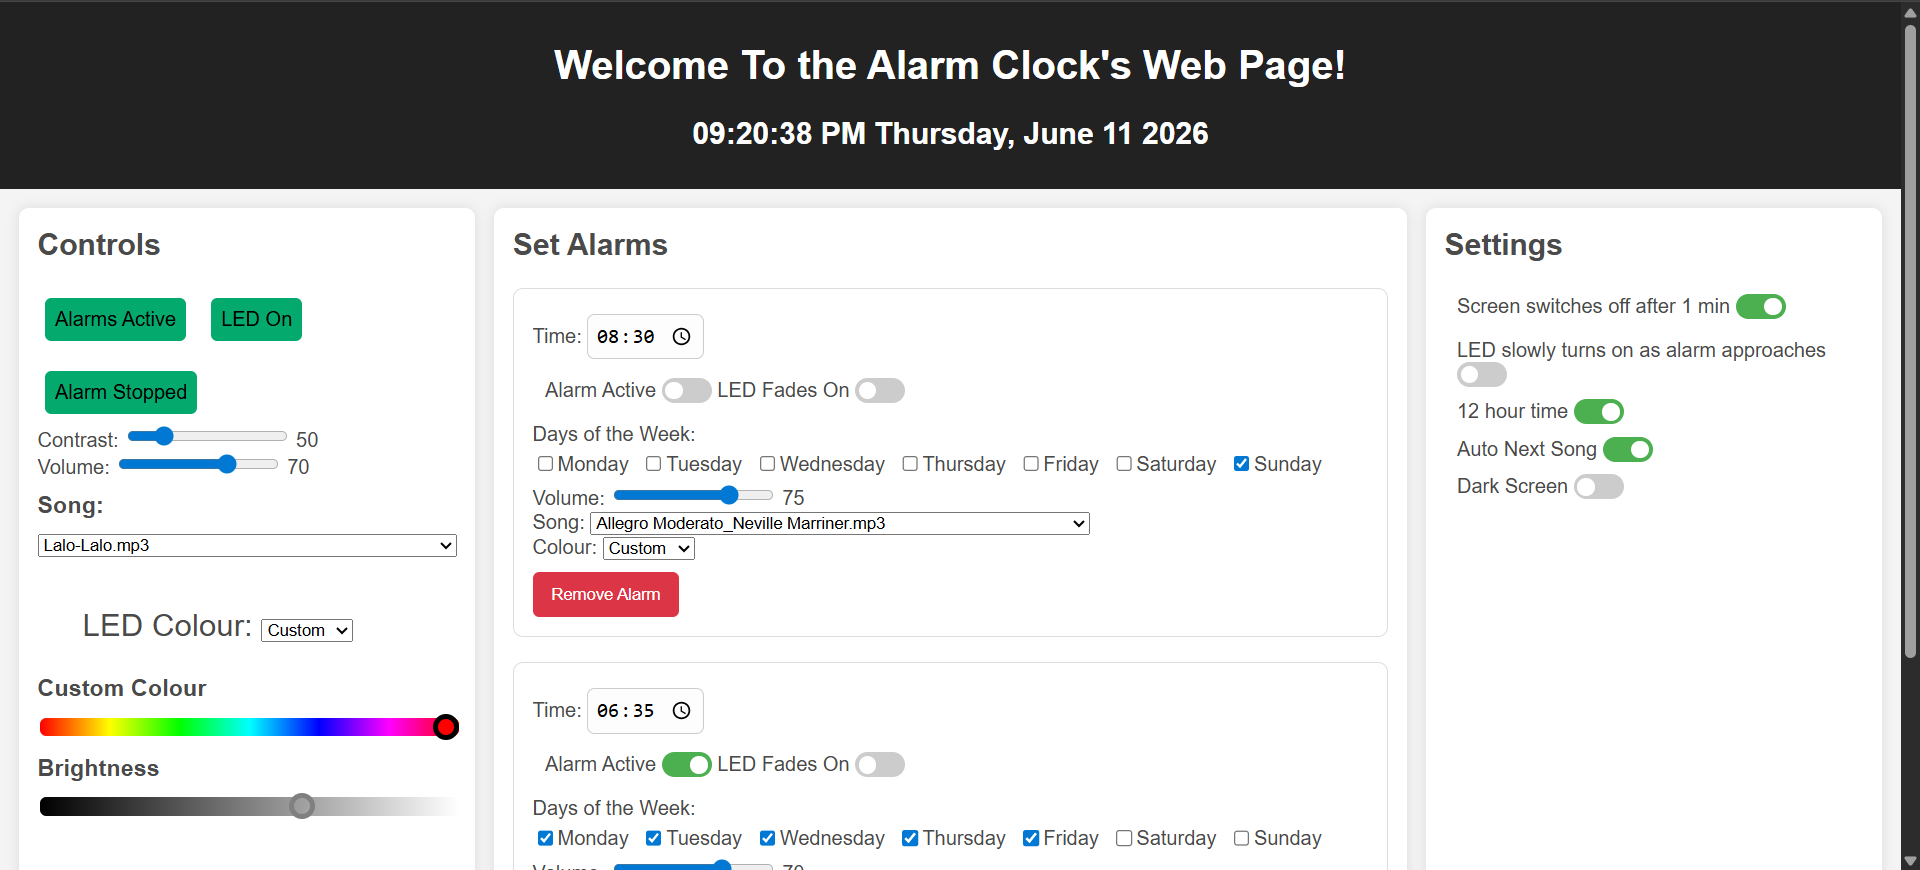
- Open a browser on a device connected to the same WiFi network as the clock.
- Type the clock's IP address into the address bar — it is on the third Settings screen.
- The Klever Klox interface appears. Alarms, colours, volume and firmware are all there.
Adding your own music
- Take the SD card out of the slot on the back.
- Put it into a computer.
- Copy any MP3 files onto the card.
- Eject the card safely.
- Put it back into the slot on the back of the clock.
- Restart the clock — unplug and replug, or press the knob.
The new tracks appear in the Song list and can be assigned to any alarm.